A look on some of my images captured this past summer mostly around Dublin and Ireland. With insights, tips and tricks for starting landscape photography.
To be honest landscape and wildlife photography were never my favourite thing. Until about a year ago. Even though I studied photography and design over 20 years ago, I was always mainly interested in photographing people, fashion and studio work. Maybe it was turning 40 but I guess something bit me out there on a hike. Or maybe it was a YouTube video.
In studio I'm used to having perfect control over light and being able to create whatever I want and can dream up. It's the polar opposite of nature photography, where most of the time is spent on getting to the location and hoping for good light.
Long exposure photograhy
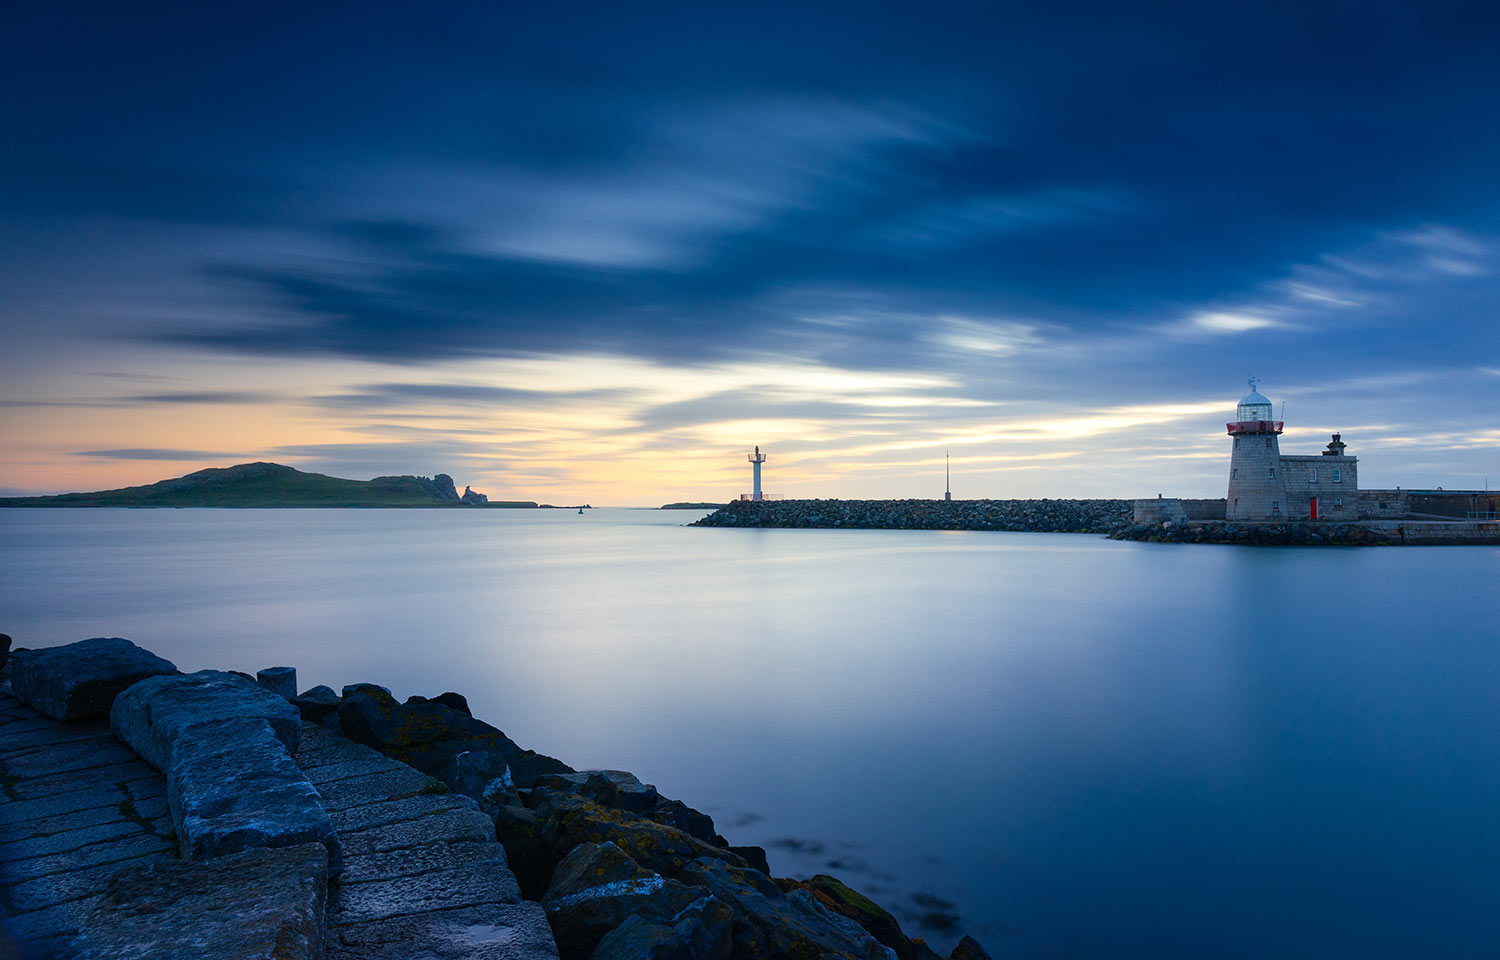
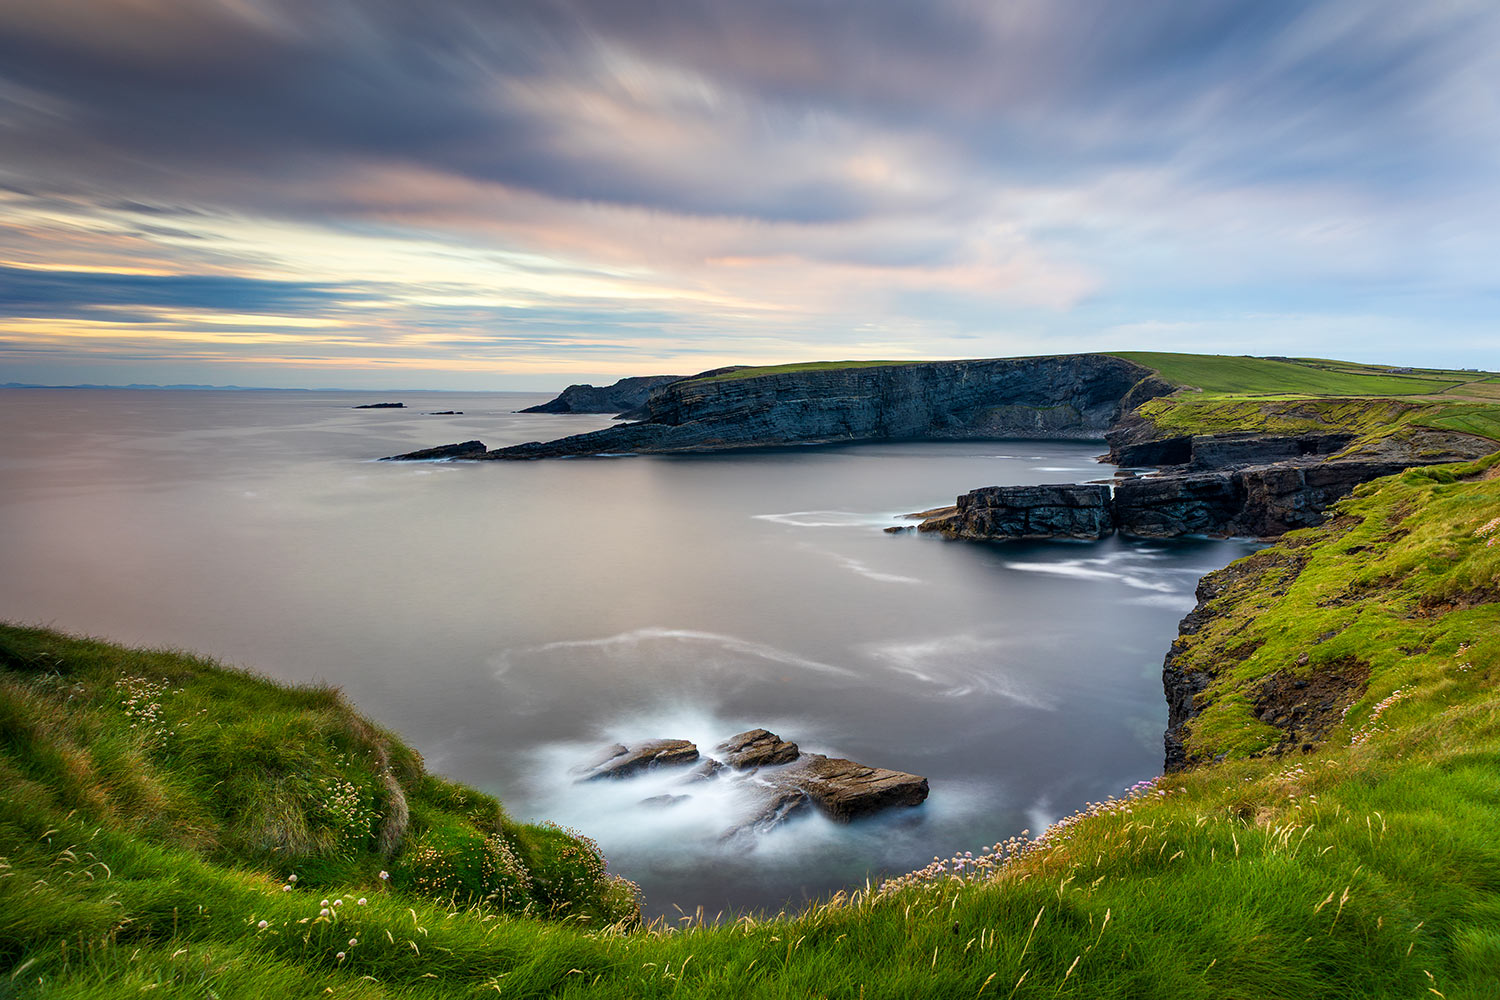
The image above from Howth Harbour and the one below from the West Coast of Ireland are 2 minutes exposures. When dealing with water that isn't perfectly still or properly in motion to create cool waves, long exposure is a handy tool to create a mirror smooth surface and get that fine art look to your images. It's also how you create those beautiful motion blurry clouds. Getting the exposure right can be a bit tricky, and is probably worth it to attempt only after you have a good understanding of your camera's manual mode and exposure triangle (shutter speed, aperture, ISO).
In order to capture long exposures up to two minutes and longer you'll need a few things. Firstly, as with most landscape photography: A tripod. With the tripod doing a long exposure you'll want to use the camera's timer or a remote/cable trigger to eliminate camera shake. Also be sure to place your tripod on something solid, not wet sand. Even with digital waiting two minutes to get a blurry photo isn't great.
Even a one second exposure can be enough for rivers and torrents, but in order to do longer long exposures you'll also need an ND (Neutral Density) filter. A 10 stop ND filter is handy for sunrises and sunsets. It's essentially a dark piece of glass that goes onto your lens, hence letting less light into the sensor. An easy way to get the conversion from your normal exposure to several minutes or up to hours, is to use a simple app like LEE Stopper. Or just print or screenshot a conversion table. For example a regular shutter speed of 1/30 with a 10 stop ND becomes 30 seconds, 1/15 to 1 minute, and so on. Optionally a gradient ND filter for the sky on top the regular ND is a good idea to retain a good exposure over the whole image.
ND filters are sold as screw-on in front of your lens, or adjustable slide-in ones with a frame. The downside with the screw on is that every lens you own needs it's own, as the diameter of the lens is different. However changes are it's not many lenses you need for landscapes, if more than one. These are also very affordable. The adjustable filter systems on the other hand are larger and more expensive and directed at people who do mainly this type of photography.

Wide angle or long lens?
Shooting on a wider angle lens makes landscape photography much more affordable than any other genre I can think of. As most often you'll likely want everything in focus and wide as possible. Which means there's no need for expensive glass that comes with shallow depth of field at F1.8 or 2.8. Lots of cameras are sold with a kit lens like a 24-105 mm, which at 24 mm F11 is perfectly fine for creating amazing landscape images.
However a telephoto lens allows you to capture amazing scenes from further away. Compression plays a part in depth of field and how close things appear as well. At a wider angle it's easier to keep everything sharp. Longer lens means more compression, which reduces the depth of field no matter how small you make the aperture. In portrait photography a longer lens can be used to make the background appear closer and/or larger in relation to the subject, due to compression. In landscapes the sun or moon can appear massive when shot at 500-1000 mm.

The estuary images above were shot on a Canon RF 100-500, probably over 50 meters away from the beach over a road without quick access to the waterfront. These were captured on two different mornings on my way biking back from shooting the sunrise at a different spot. If I didn't have my telephoto lens and had to make my way over the to the beach I would have missed these shots as the light and clouds can shift quickly.

Timing, weather and showing up
I'd argue 90% of landscape photography is about getting to the location, waiting and hoping. When I'm trying to catch a sunrise I'll check the weather forecast and almost always use services like SunCalc to see where the sun is going to come up in relation to my preferred location. I usually try to be at the spot at least 30 minutes or more before the sunrise. Getting your settings, exposure, ND filter and composition right can take some time. Also sometimes the most amazing shot is before the actual sunrise.
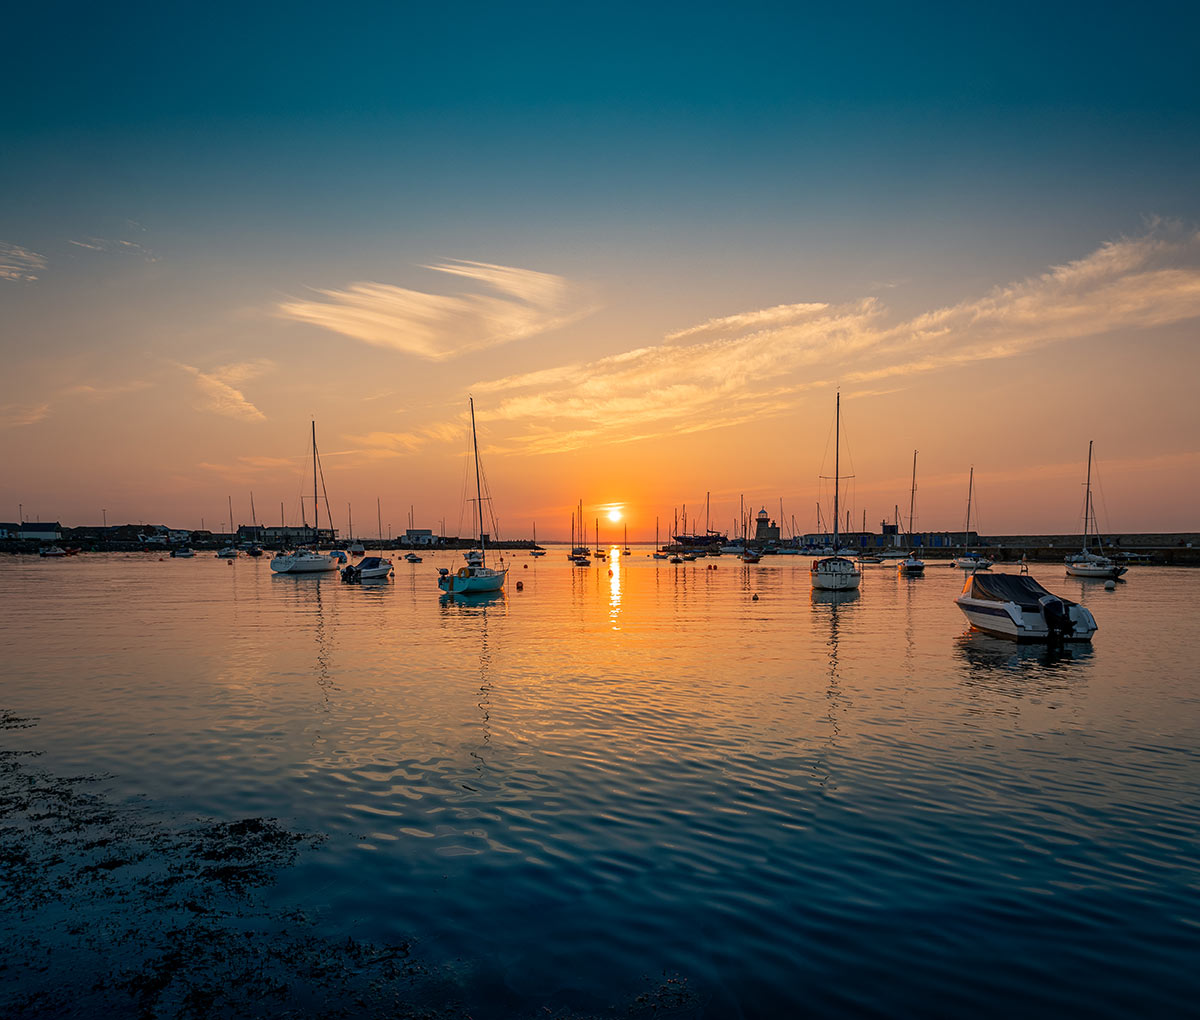
Sometimes, or oftentimes you get nothing. For the image above from Howth Harbour I went there seven times to get what I wanted. And still it's not quite there, but best of the seven. Sometimes the forecast says sunny, but from your viewpoint there are clouds blocking the sun. I often ride a bike and it might look amazing on the way, but once there I'll discover the small cloud front is exactly in front of the setting sun. This one was shot as an HDR panorama, combining 3 images with 3 exposures for each (9 frames total).


HDR photos or ND filters?
The eye and the camera do not see the same way. The image above was captured in HDR (High Dynamic Range) from a hotel window. Meaning 3 exposures: One base level, one under exposed and one over exposed. These are then blended into one image containing a large amount of shadow and highlight information you can pull up in Adobe Lightroom for example, to match more closely what you actually saw and felt on the day. This way you won't overblow your skies or under expose your shadow areas. While modern cameras have quite a high dynamic range to recover shadows in post, I still like to capture HDR in certain cases. Especially if I'm not doing long exposures, or I don't have much gear with me. HDR can even be shot handheld with good technique, when shutter speeds can be kept relatively fast. You can even do HDR panoramas, which can take you down a rabbit hole of nodal points. But that's an article of its own.
As mentioned with the long exposure photography, one way to increase or retain the dynamic range on a single exposure is to use a gradient ND filter. Similar to a normal ND filter this one gradually fades off towards the center. This allows to exposing for the highlights in the sky while retaining more light in the shadows at the bottom part of the landscape. Essentially making the sky appear darker in relation to the ground.